01/09/2024
Having compressed images on a website is crucial for delivering a fast and seamless user experience. When images are optimized, web pages load faster, allowing users to navigate the site without delays, which is especially important for maintaining engagement and reducing bounce rates. A faster experience is better for your users, as it keeps them on the site longer and enhances their satisfaction. This is particularly important on mobile devices, where 4G and other connections can often be unstable or slow, causing unoptimized images to load slowly and frustrate users.
Additionally, compressing images can have a significant impact on your website’s egress costs and the environment. Reducing the overall size of a website means less data is transferred, which lowers bandwidth costs and energy usage. Websites that are lighter and faster are more efficient and eco-friendly, reducing the carbon footprint associated with hosting and delivering content across the web. By optimizing images, you’re not only improving the user experience but also contributing to a more sustainable internet.
Compress images which are part of your layout
Images that are part of a website’s layout are visual elements that form the design and structure of the site. These include:
- Logos: The brand’s identity, typically located in the header or footer.
- Banners and hero images: Large images at the top of pages used to grab attention.
- Icons: Small, functional images like social media icons, navigation icons, or feature highlights.
- Background images: Visuals used in the background of sections or entire pages to enhance the aesthetic appeal.
- Decorative images: Any other visuals embedded in the layout for design purposes, such as dividers, borders, or illustrations.
These images typically do not change often and remain consistent across multiple pages or sections of the website. They are different from content images (like product photos or blog images) that might be frequently updated.
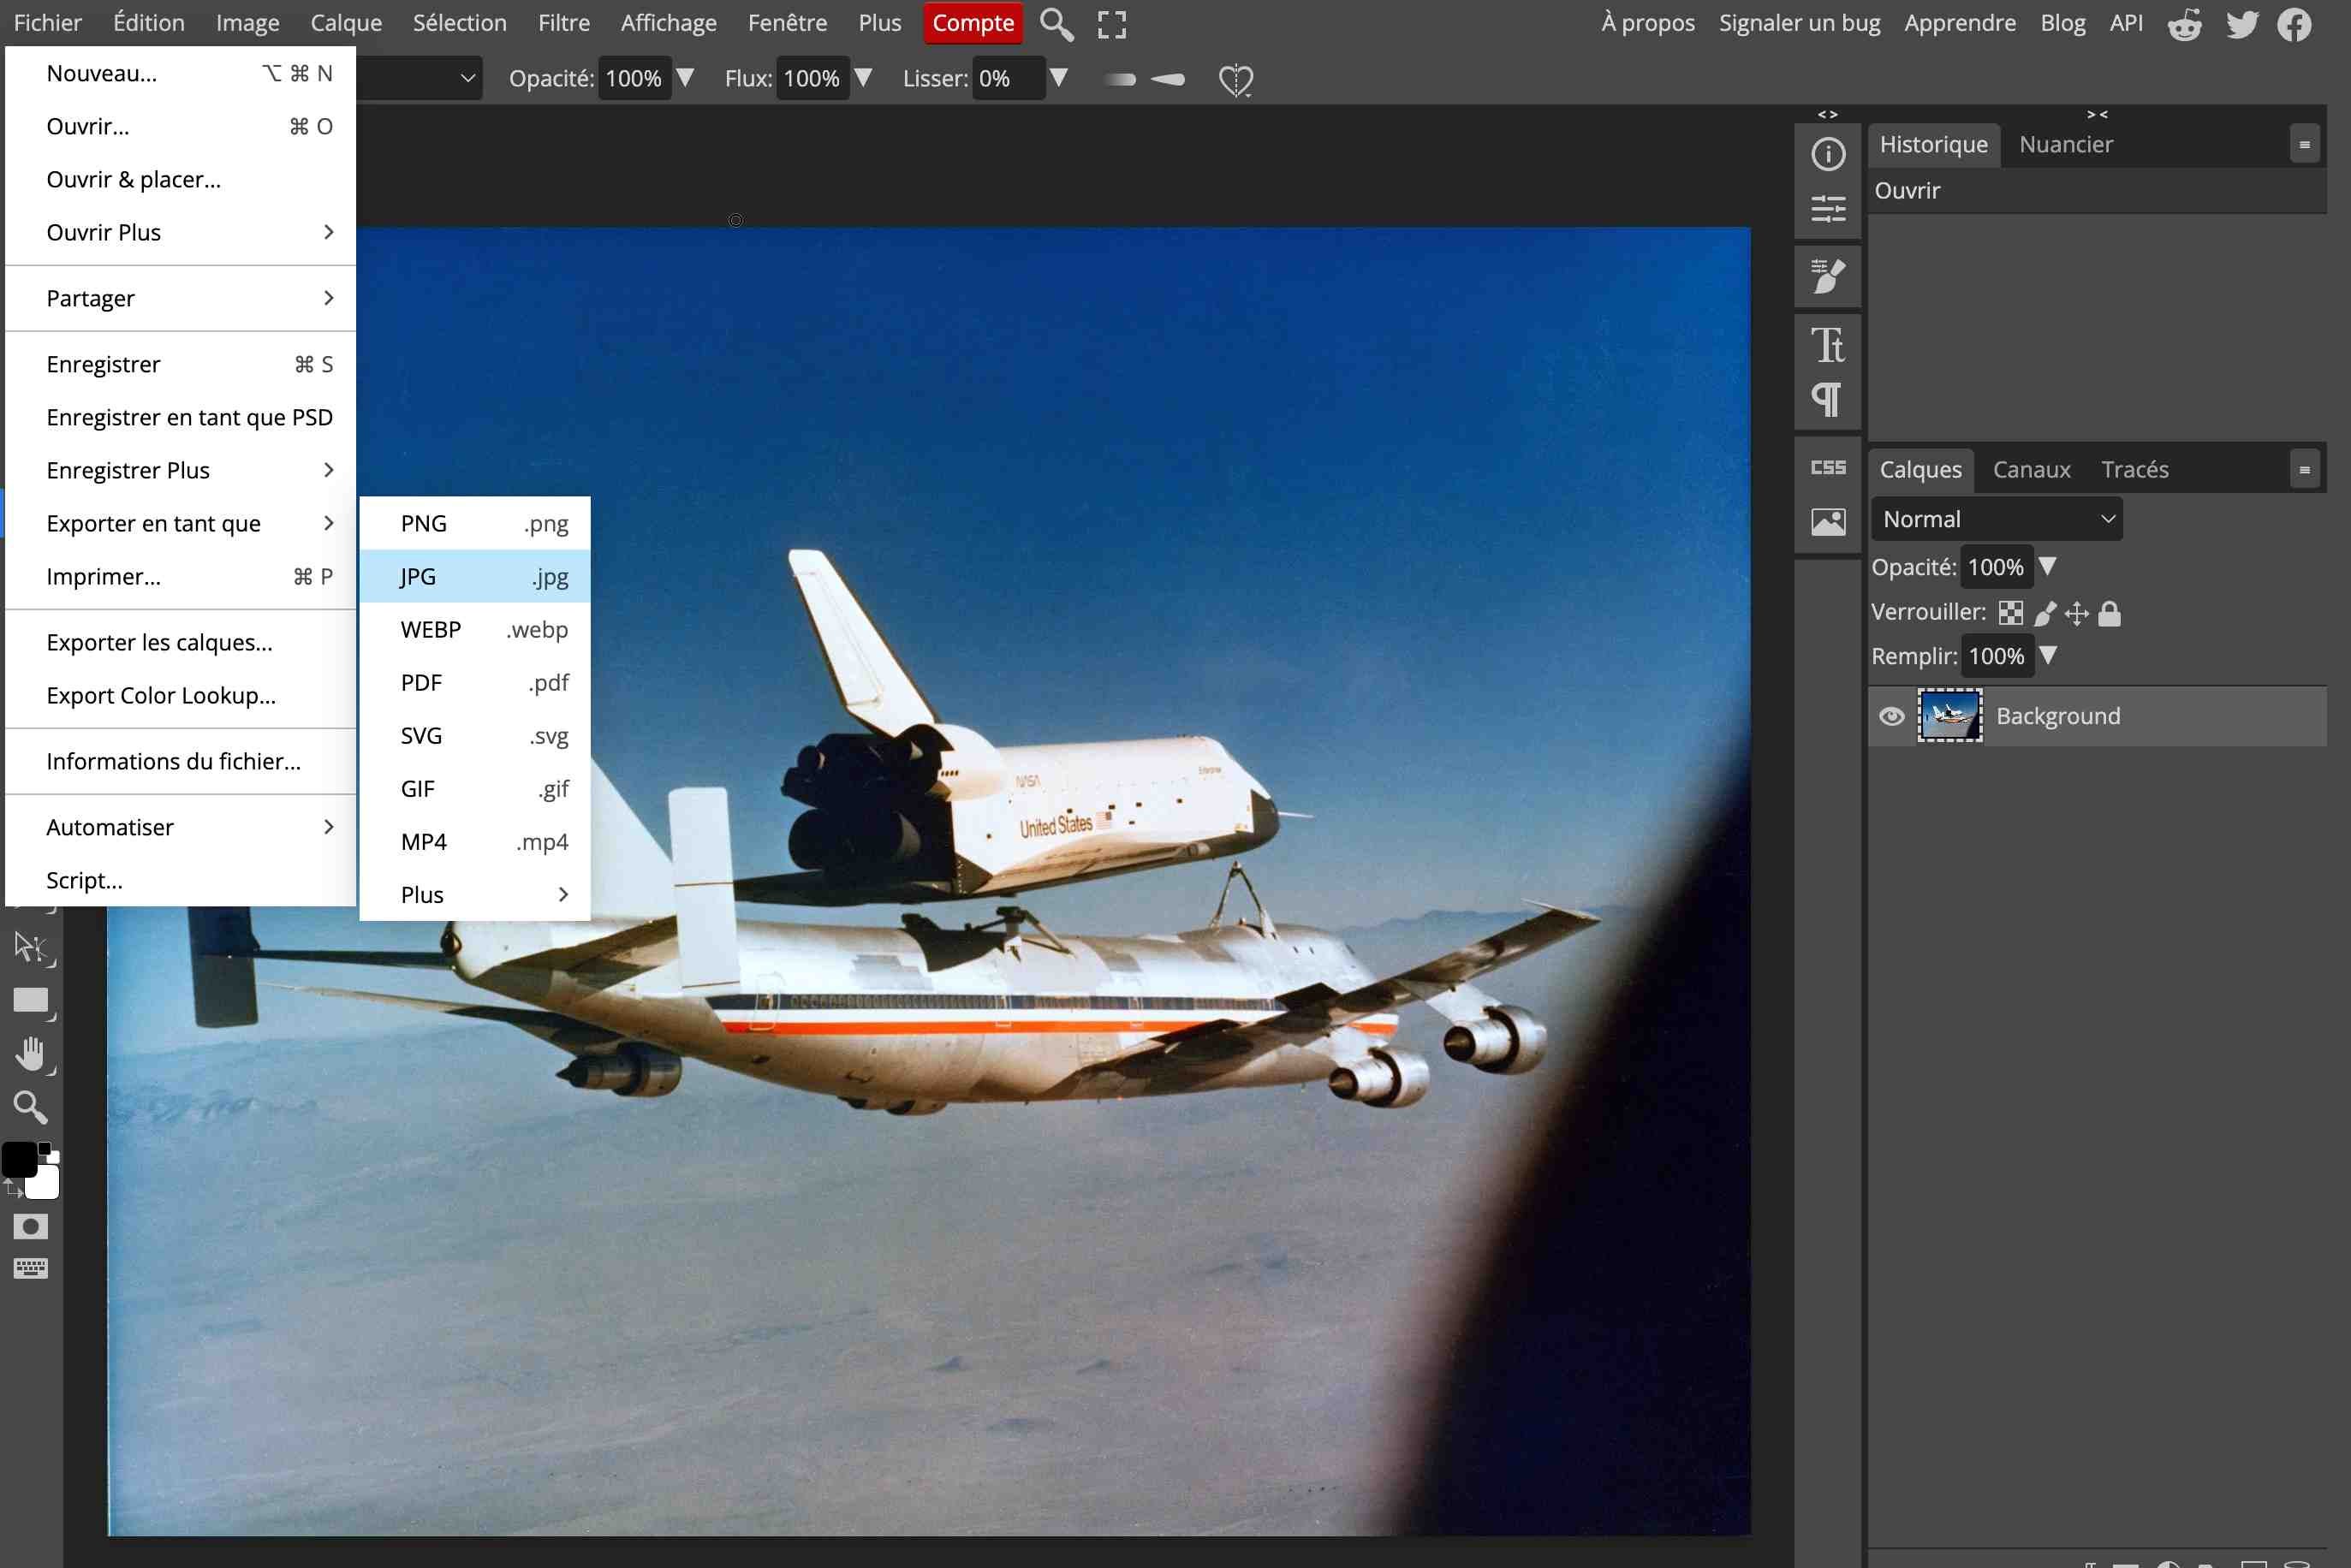
Use Photoshop « Save for the Web »
Photoshop is a tool used by front-end developers and designers. Out of the box, the software comes with a handy feature to compress images.
To compress images with Photoshop, follow this process:
- First of all, open the images with Photoshop
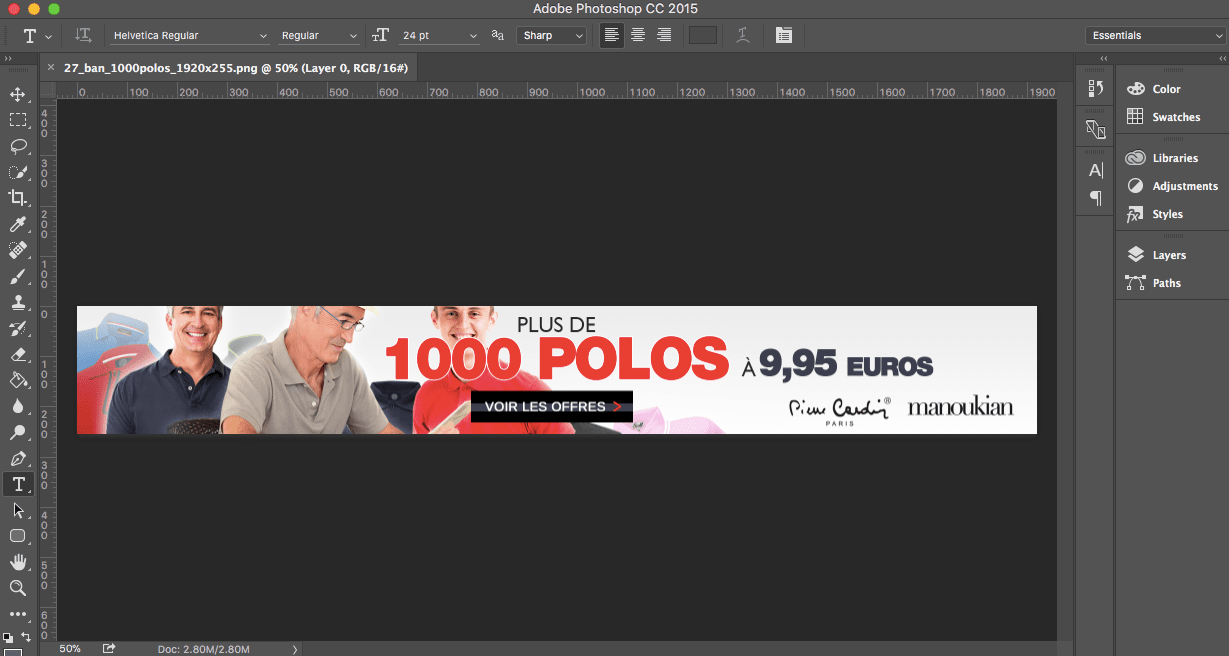
- Export the image:
Click on File -> Export -> Save for Web
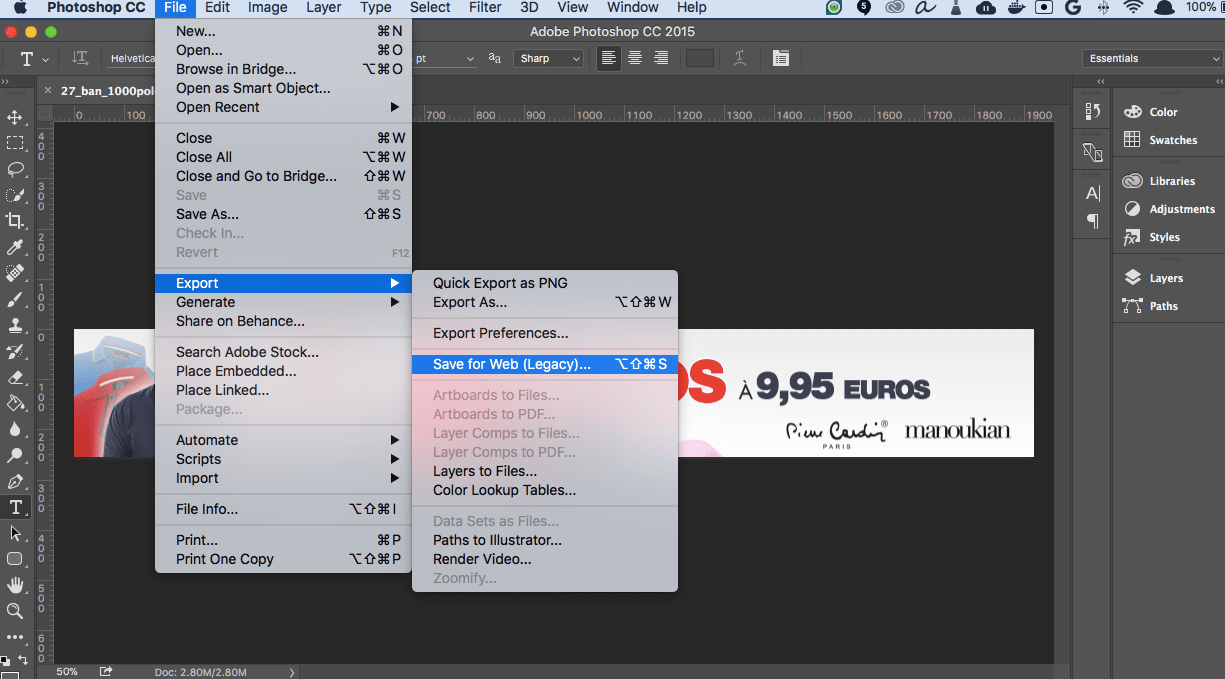)
- Handle the compression manually
Click on the 4-Up tab on the top left, this will display your image with 4 different compression settings.
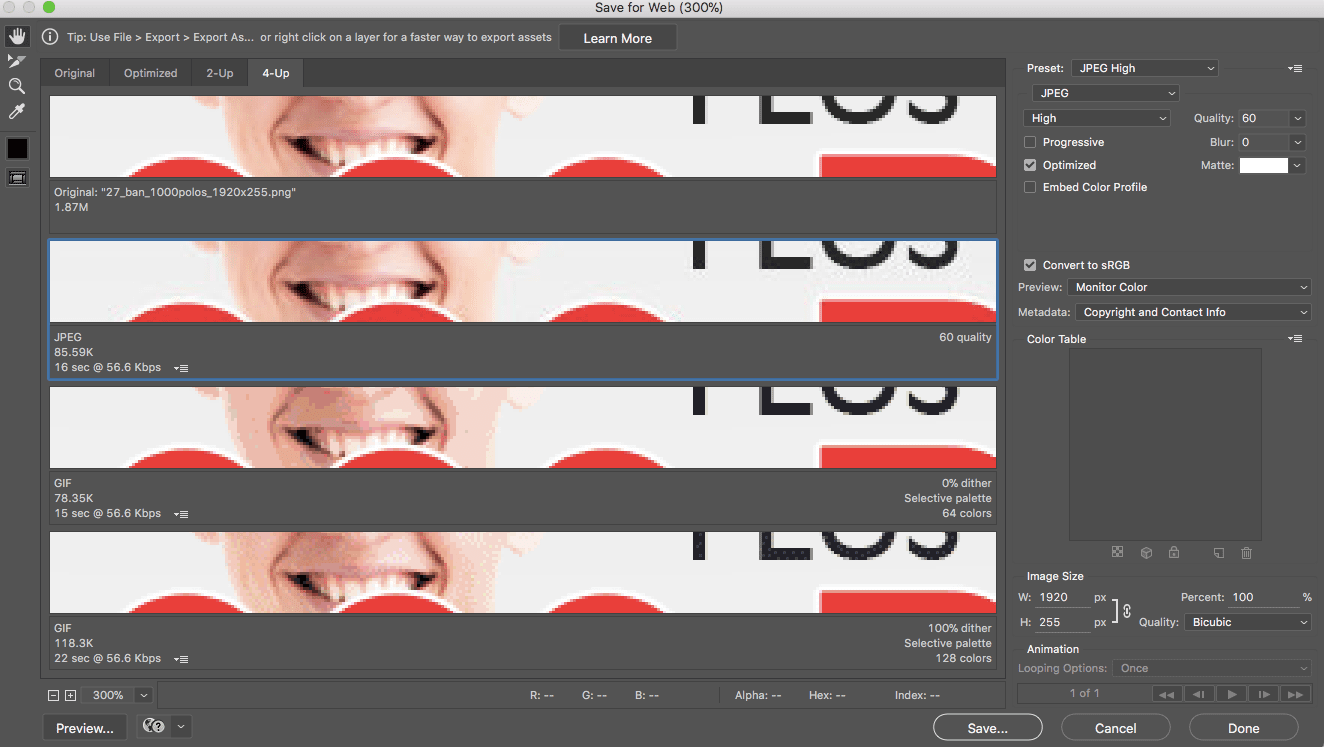)
On the bottom left, you have the possibility to zoom in on the image. I definitely recommend you zoom your image to see more precisely the image quality degradation.
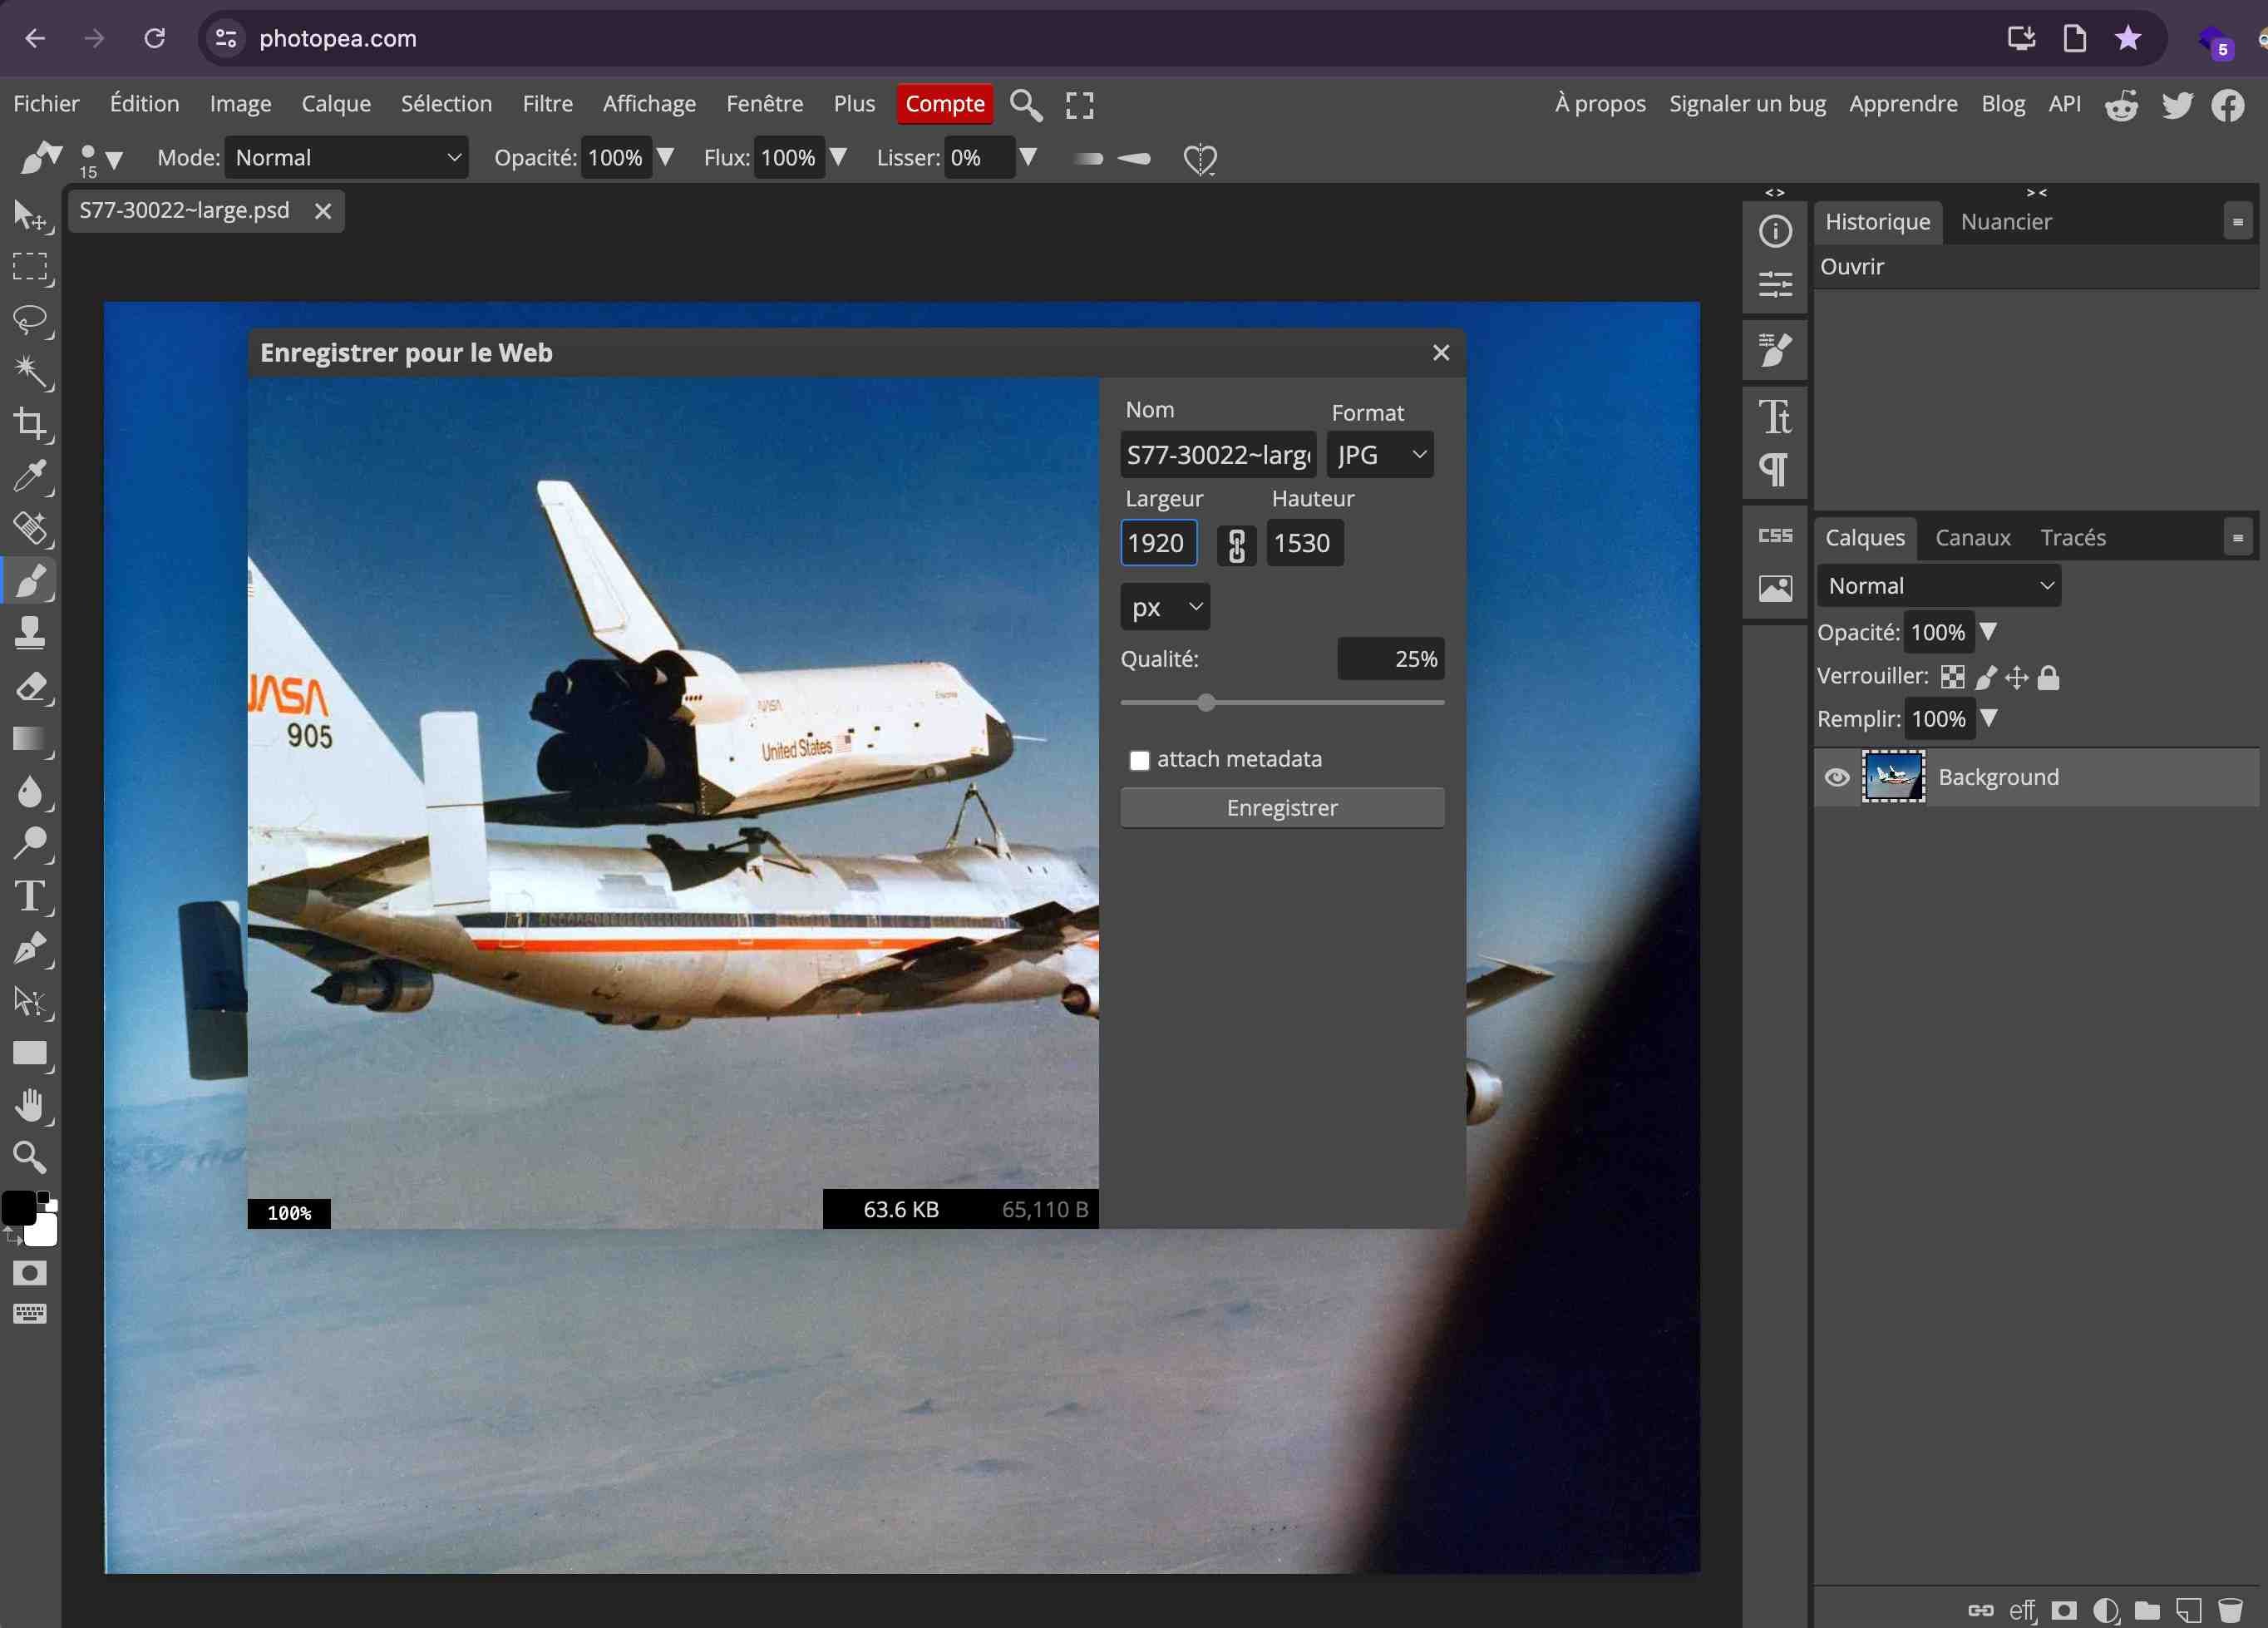
Alternatively, you can use the Photoshop online alternative: Photopea.
- Open the images with Photopea
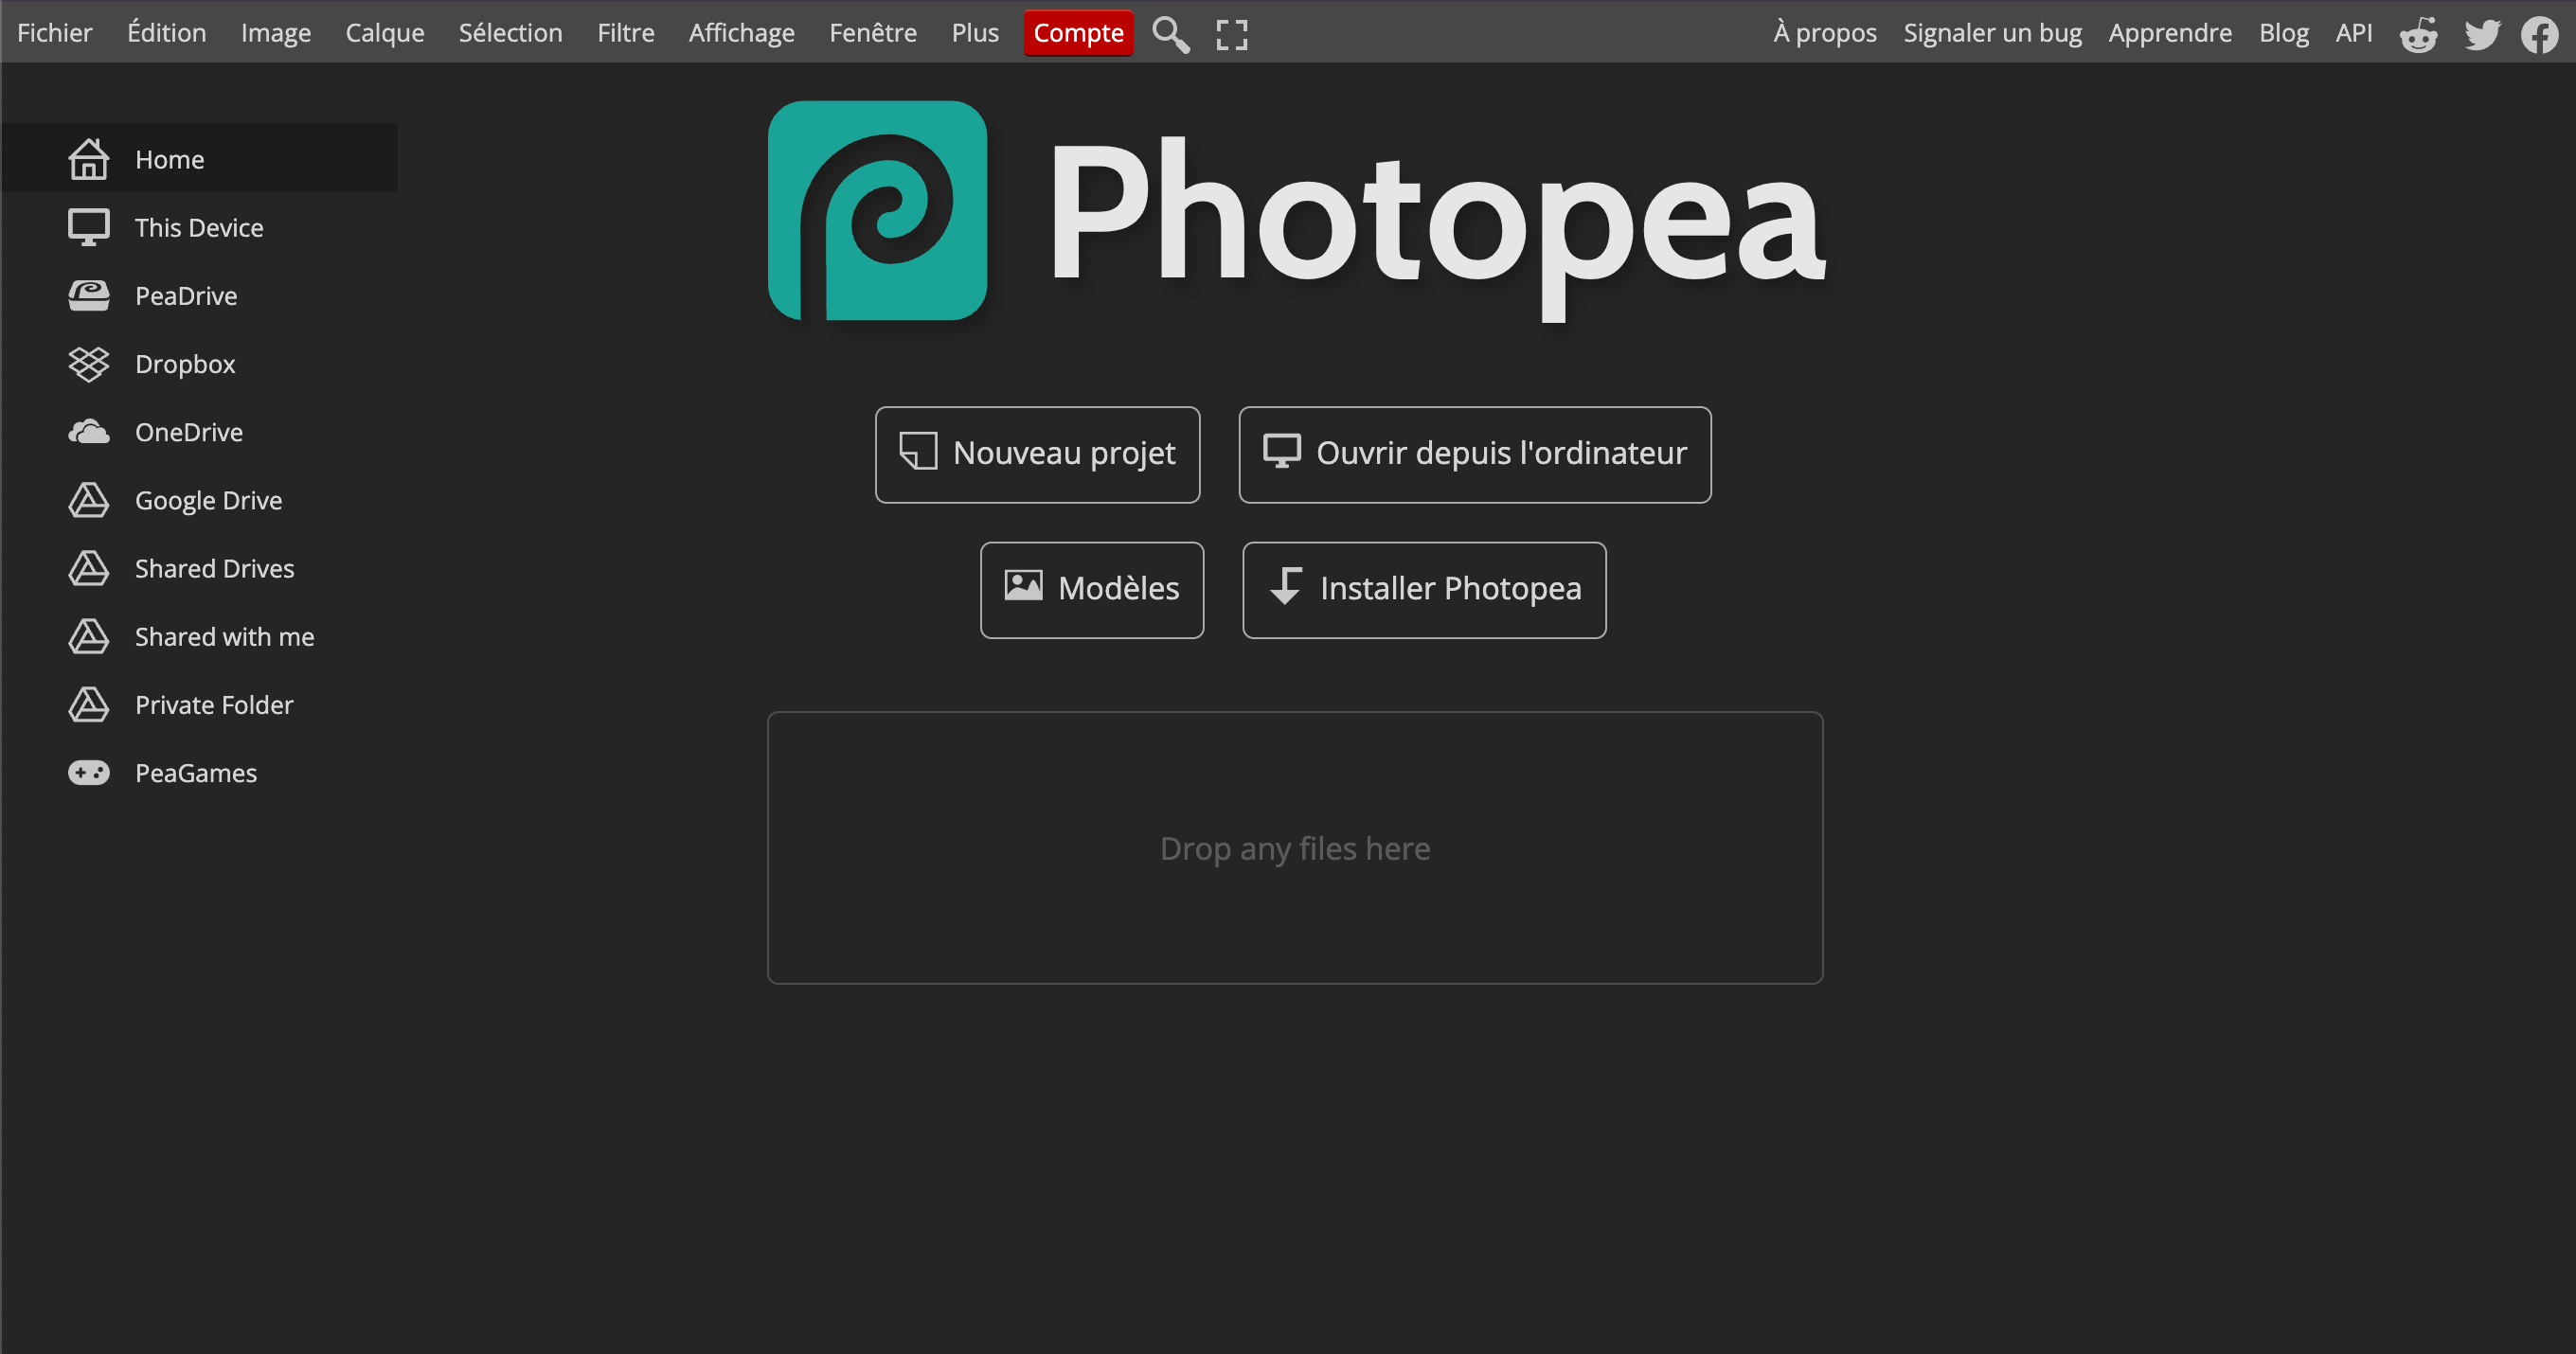
- Export the image:
-
Tweak the compression manually
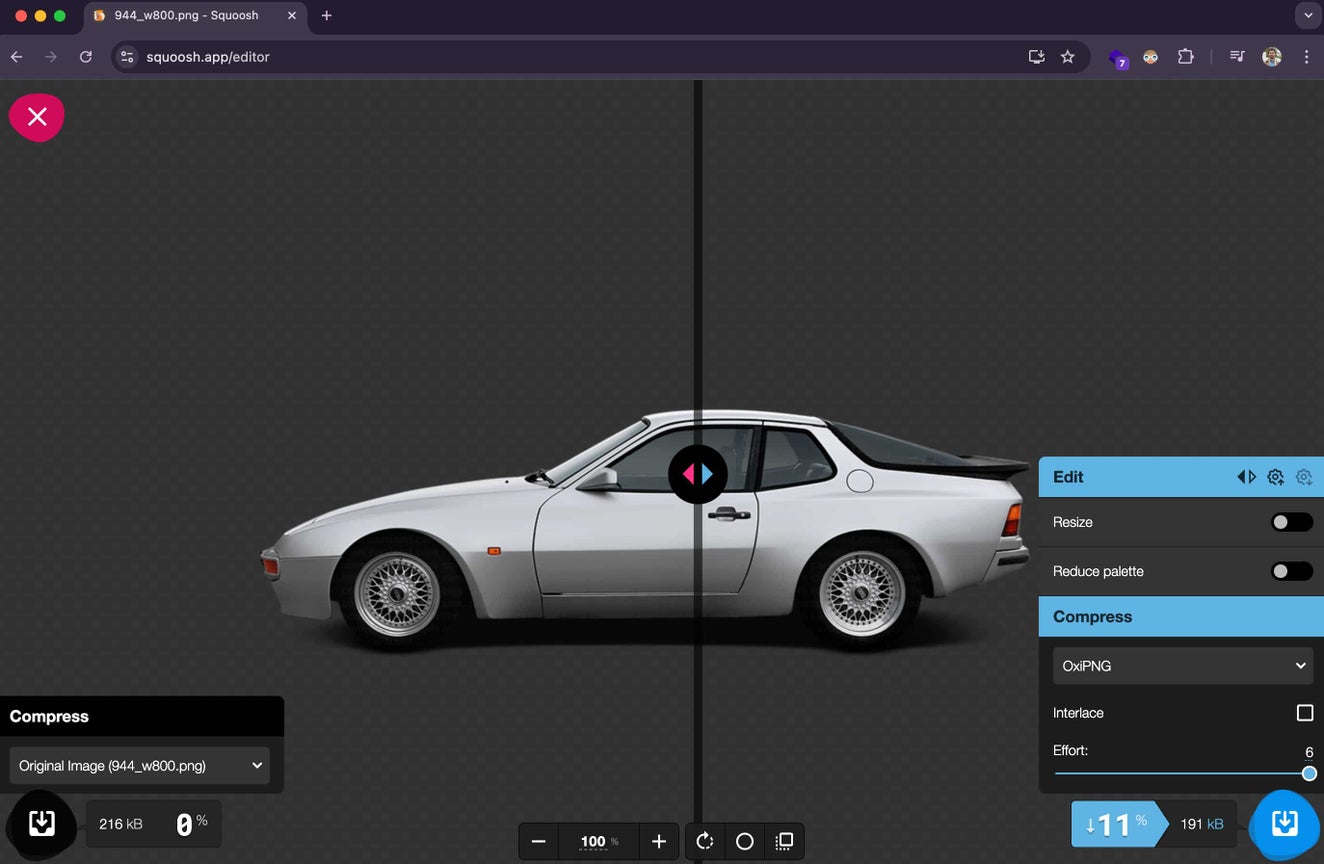
Squoosh.app
Squoosh is a powerful, web-based image compression tool developed by Google, allowing users to easily reduce image file sizes without sacrificing quality. It supports various image formats and offers real-time comparison between the original and compressed versions, along with advanced settings for resizing, format conversion, and optimizing images for the web. Squoosh runs entirely in the browser, making it fast, private, and highly accessible for quick image optimization tasks.
The usage of Squoosh is very straightforward. I’m not sure I need to guide you.
Optimize in bulk
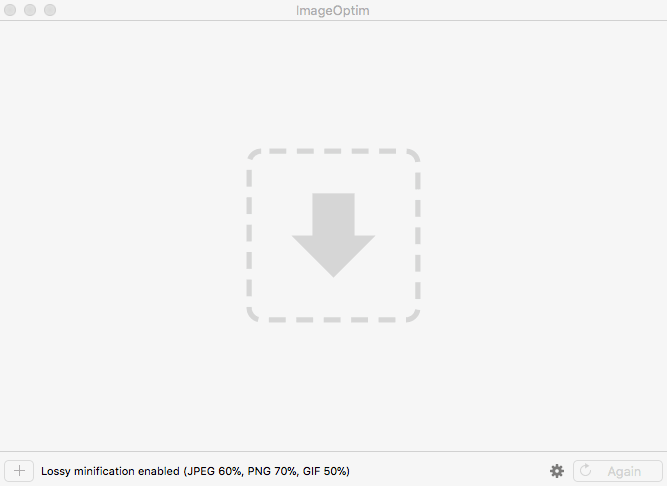
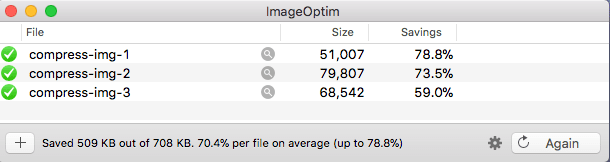
ImageOptim for Mac
If you need to optimize a lot of images, I recommend ImageOptim. This tool is quite simple to use.
- Tweak the settings:
First, I recommend changing the quality settings. Don’t be afraid to try different settings to optimize the savings.

- Drop the images and wait for the compression to finish:
Optimize in bulk with the CLI
Optimize PNG
To optimize PNG in bulk, I recommend pngquant. Have a look at the documentation.
To install it:
apt-get install pngquant
Personally, I use this command:
pngquant --quality=60 --ext=.png --force *.png
This converts (overrides) the original image.
Optimize JPG
Mozjpeg is the perfect tool to optimize JPG on Linux. To install it, do the following:
sudo apt-get -y install build-essential cmake libtool autoconf automake m4 nasm pkg-config
sudo ldconfig /usr/lib
cd ~
wget https://github.com/mozilla/mozjpeg/archive/v3.1.tar.gz
cd mozjpeg-3.1/
autoreconf -fiv
mkdir build
cd build
sh ../configure
sudo make install
Move the binary executable (cjpeg) to your path:
cd /usr/local/bin
ln -s ~/mozjpeg-3.1/build/cjpeg
Start to optimize:
By default, the compression level is set to 75%.
cjpeg -outfile myImage.moz.jpg -optimise myImage.jpg
You can change the quality setting (here 50%):
cjpeg -quality 50 -outfile myImage.moz.jpg -optimise myImage.jpg
My advice is to try different quality levels to see what’s acceptable for you. Once you’ve found the right setting, you can optimize in bulk. There are plenty of ways to optimize in bulk, but I decided to create a simple Node.js script to do it.
Have a look at the documentation if you want to learn more about MozJpeg usage.
On the fly optimization with a service
There are various ways to perform on-the-fly optimization and resizing for your images. Most of the time, websites and apps will use cloud services to do this. In this article, I will present one self-hosted/open-source service and one managed service.
IPX image optimizer
IPX is a high-performance, secure, and easy-to-use image optimizer powered by the Sharp library and SVGO. It’s a project behind Nuxt Images and is used by Netlify. It’s pretty straightforward to use, but I will try to save you a bit of time by giving you my working configuration in the following lines.
Install IPX with Express
First of all start a new project with :
npm init -y
Then you are ready to install the packages :
npm install listhen express ipx
NB : It’s important to change the type in your package.json to "type": "module"
Create the main file for your server like :
touch app.js
Also create a public folder :
mkdir public
In your main file add the following :
import { listen } from "listhen";
import express from "express";
import {
  createIPX,
  ipxFSStorage,
  ipxHttpStorage,
  createIPXNodeServer,
} from "ipx";

const ipx = createIPX({
  storage: ipxFSStorage({ dir: "./public" }),
  httpStorage: ipxHttpStorage({ domains: ["origin-playground.antoinebrossault.com"] })
});

const app = express().use("/", createIPXNodeServer(ipx));

listen(app);
THe importannt part are along those lines :
const ipx = createIPX({
  storage: ipxFSStorage({ dir: "./public" }),
  httpStorage: ipxHttpStorage({ domains: ["origin-playground.antoinebrossault.com"] })
});
With storage: ipxFSStorage({ dir: "./public" }) IPX will optimize images stored in path of the app.
With httpStorage: ipxHttpStorage({ domains: ["origin-playground.antoinebrossault.com"] }) IPX will optimize images coming for a given domain.
How to use IPX ?
After your done configuring IPX you should be ready to optimize your images. Let’s start simple with a basic resize
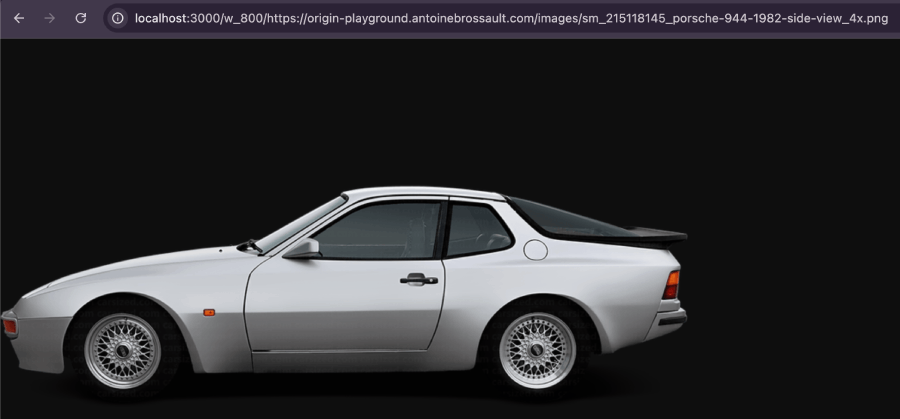
Basic Resize :
Keep original format (png) and set width to 800:
/w_800/static/buffalo.png
Then we use
http://localhost:3000/w_800/https://origin-playground.antoinebrossault.com/images/sm_215118145_porsche-944-1982-side-view_4x.png
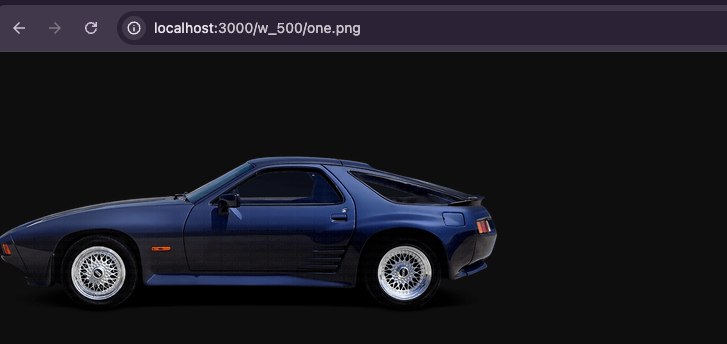
Basic Resize with a local image :
Assuming one.png is in our public folder /public/one.ong
http://localhost:3000/W_500/one.png
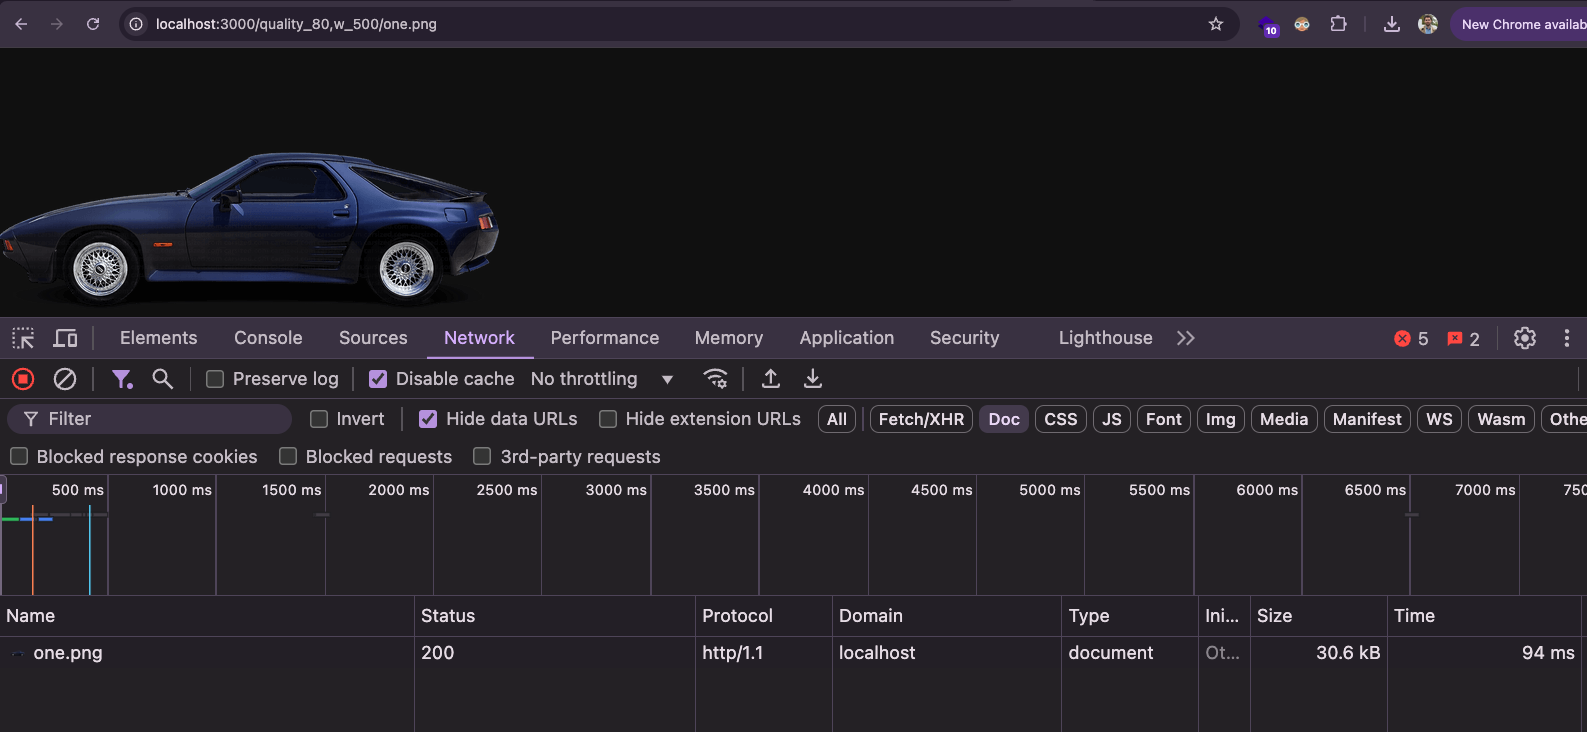
Compression level at 80%:
http://localhost:3000/quality_80,w_500/one.png
Compression level at 10%:
http://localhost:3000/quality_10,w_500/one.png

Comprehensive guide to image optimization
If you want to deep dive into image optimization, I recommend you have a look at images.guide by Addy Osmani.